
- Joined
- Aug 29, 2009
- Location
- Pottsville,PA
Folks, I'e been asked to build a rod for the tourney coming up with the BBM members and I thought to do a walk thru as the rod gets built. I'll be adding some pictures as it progresses from blank to finished rod, so keep a close eye on the thread....
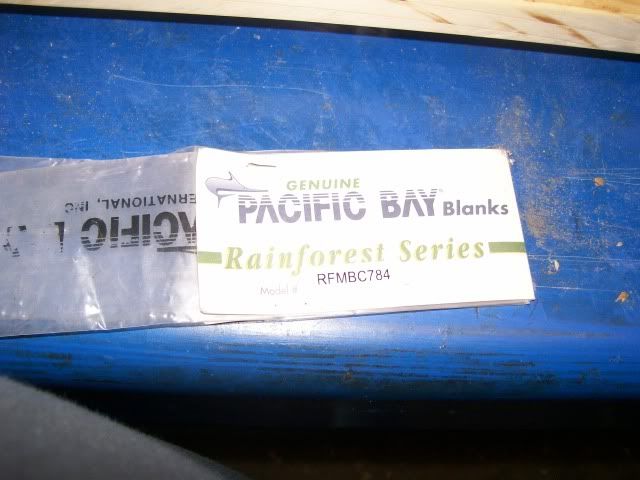
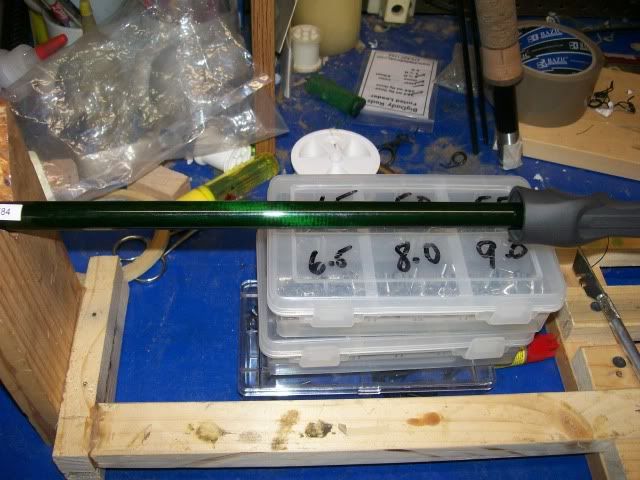
Here we have the beginning of the project. It'll be a PacBay blank-6'6" long and it's got a heck of a butt section for pulling the bass out of heavy cover. Look at it this way- 1/4 to 3/4 oz ; 10-17lb Mag Bass with Med Hvy usage.
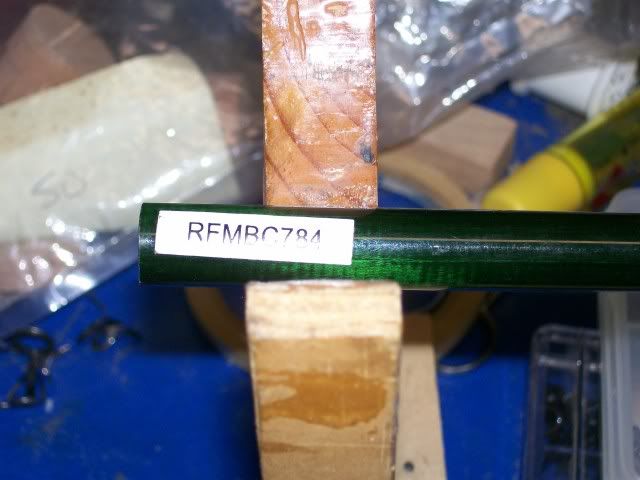

This is the tag end telling you the weight/length/ and description. Take notice to that green sparkle in the blank.
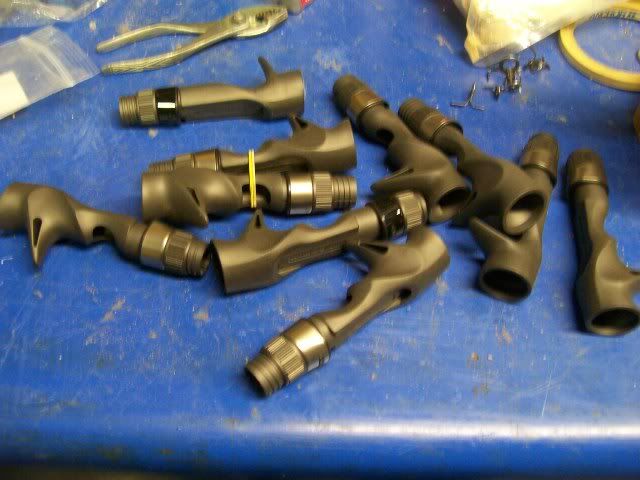
We picked out a seat to match this beauty. This is a Fugi,exposed seat with two groove fingers and a hook keep built into the seat.
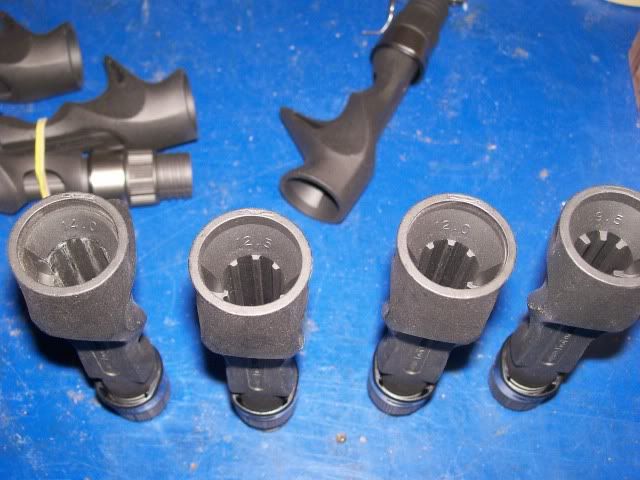
See the ribbing inside to hold and lock in the seat. These seats are size specific. Measured in millimeters and half millemeters, you find the right size for the location of the seat on the rod.
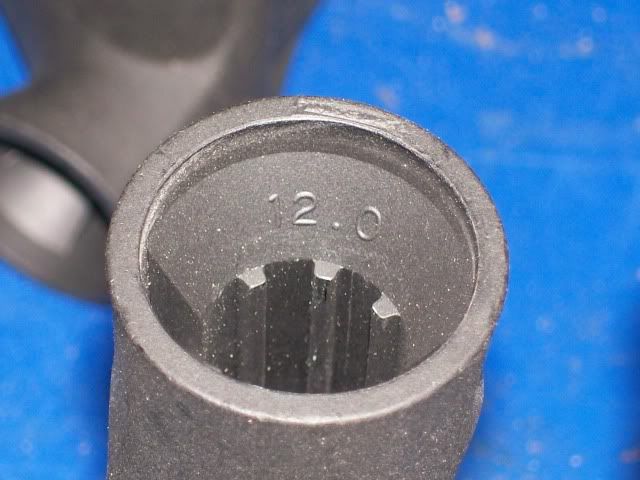
We're going to use the 12.0 for the location that I picked for the seat on the blank. The location will be about 8 1/2 inches from the butt to the beginning of the seat.
Take notice the location of the seat. I tried a 12.5 seat and it took me too far down. So, I will take care of this in short order.
Sanding out the ribbs slightly does the trick. Find this practice in a commercial rod building facility!!!! NOT
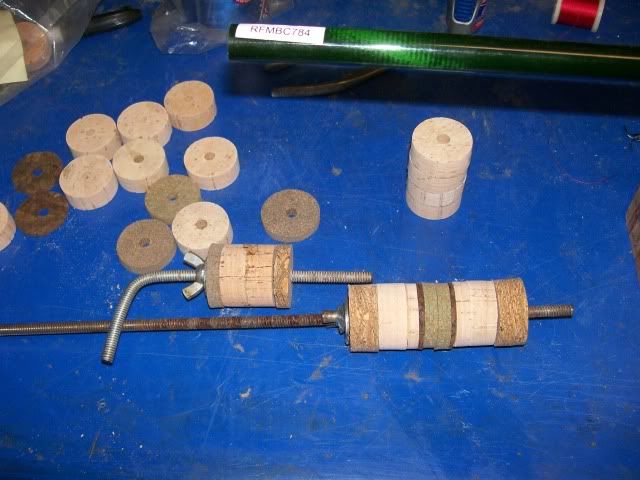
Now we pick out the cork. Since we used a green blank, I'm going to use some regular, rubberized black, rubberized green and some brown burl in this set up.
We glued it and let it sit.
Getting it ready for the lathe.

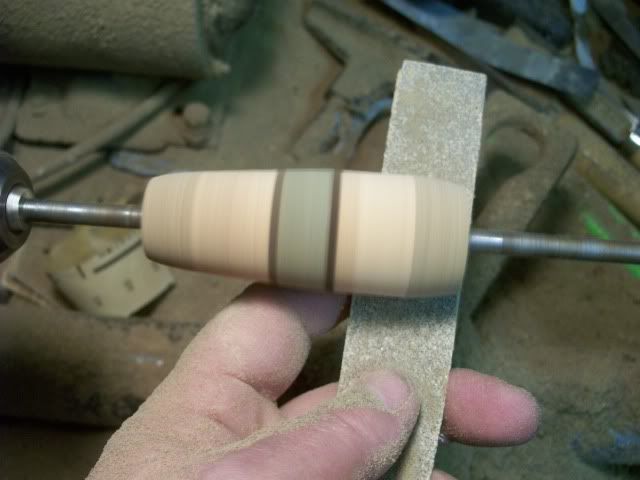
Some sanding down and shaping.

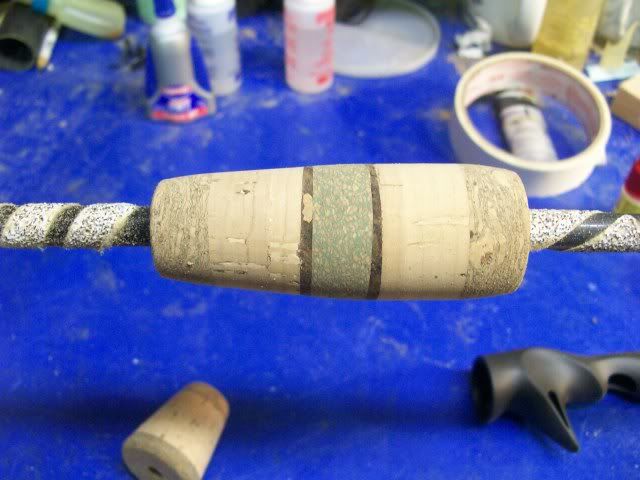
We filled in the slight holes in the regular with putty and will sand them out to smoothness.
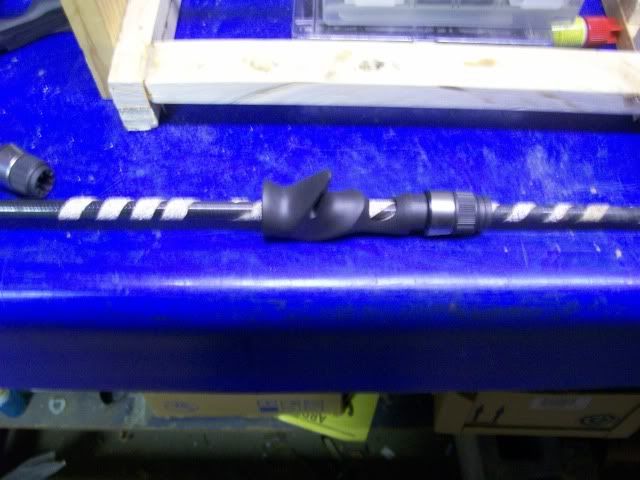
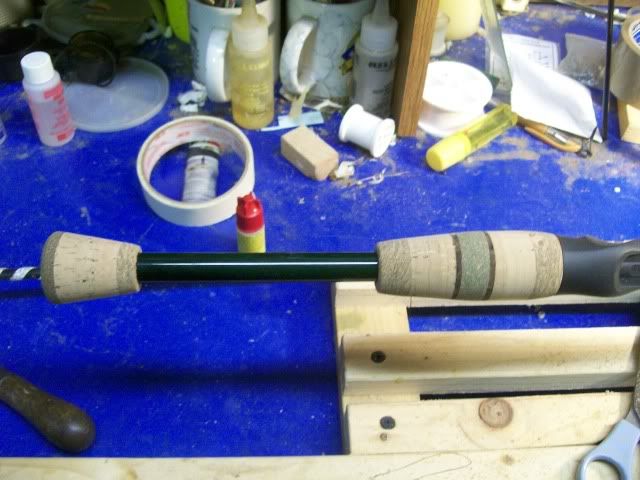
This takes care of the butt section. Now we move onto the front section. As you can see, this will be a split grip cork handle.
A little shaping...
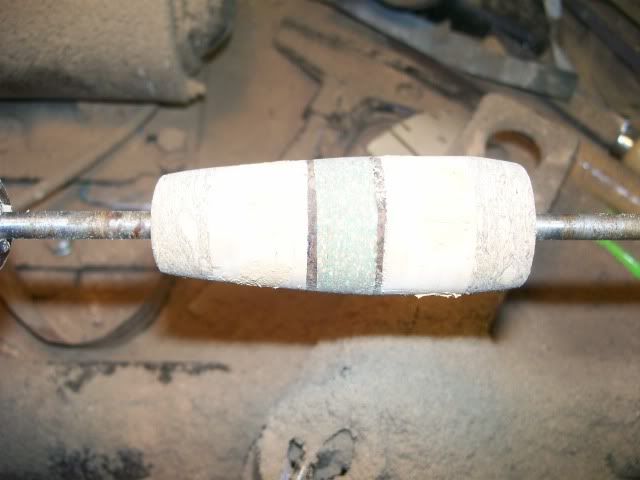
A little filling in....
And we finished it. Now we need to size it to fit tight against the seat.
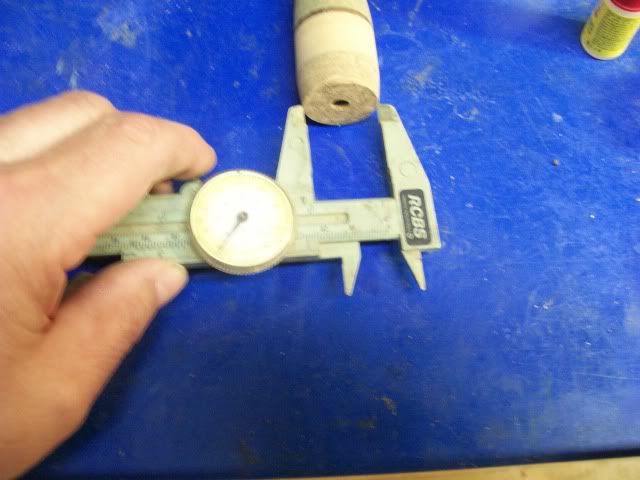
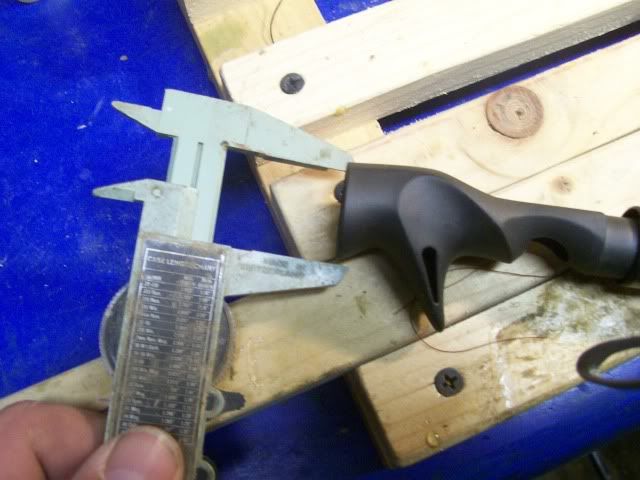
We measured the size of the seat and the cork to make them fit smoothly with no seams to catch your fingers. This was the same size on both.
Now what we're doing here is reaming out the cork. I cheated slightly, as I put this peice on the drill dress and cut out the center with a drill bit first. It's too hard to hold the cork,drill and take pics, so just imagine what happened. I'm reaming out the cork to a perfect fit for the cork. I cut the cork just slightly oversize to get epoxy on the blank and cork for a good seal. Not too much,whch calls for fitting several times as you will see.
Here is a dry fit to make sure it'd going to work. Nothing like glueing everything in place and not having the fit correctly done.
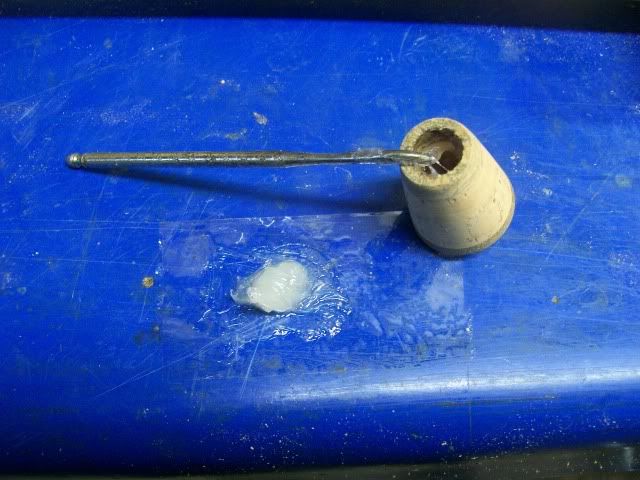
Here we slop some rod bond inside the cork to glue it on the back butt.
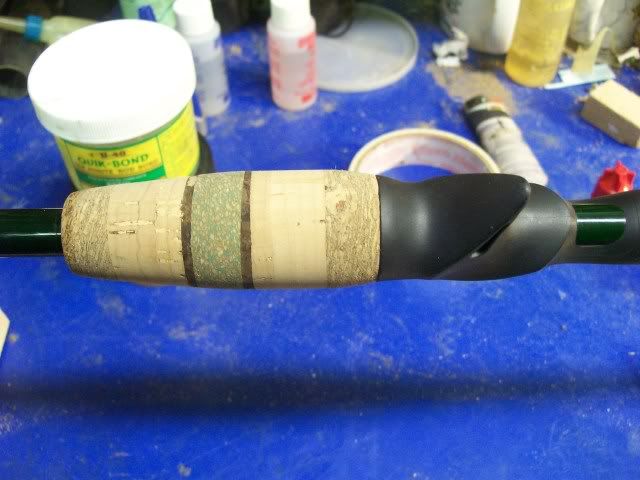
Here is the cork and seat glued together on the blank. We will let this sit for a day to get a solid bond onto the blank.
Come back later to check out the fitting of the guides.
Here we have the beginning of the project. It'll be a PacBay blank-6'6" long and it's got a heck of a butt section for pulling the bass out of heavy cover. Look at it this way- 1/4 to 3/4 oz ; 10-17lb Mag Bass with Med Hvy usage.
This is the tag end telling you the weight/length/ and description. Take notice to that green sparkle in the blank.
We picked out a seat to match this beauty. This is a Fugi,exposed seat with two groove fingers and a hook keep built into the seat.
See the ribbing inside to hold and lock in the seat. These seats are size specific. Measured in millimeters and half millemeters, you find the right size for the location of the seat on the rod.
We're going to use the 12.0 for the location that I picked for the seat on the blank. The location will be about 8 1/2 inches from the butt to the beginning of the seat.
Take notice the location of the seat. I tried a 12.5 seat and it took me too far down. So, I will take care of this in short order.
Sanding out the ribbs slightly does the trick. Find this practice in a commercial rod building facility!!!! NOT
Now we pick out the cork. Since we used a green blank, I'm going to use some regular, rubberized black, rubberized green and some brown burl in this set up.
We glued it and let it sit.
Getting it ready for the lathe.
Some sanding down and shaping.
We filled in the slight holes in the regular with putty and will sand them out to smoothness.
This takes care of the butt section. Now we move onto the front section. As you can see, this will be a split grip cork handle.
A little shaping...
A little filling in....
And we finished it. Now we need to size it to fit tight against the seat.
We measured the size of the seat and the cork to make them fit smoothly with no seams to catch your fingers. This was the same size on both.
Now what we're doing here is reaming out the cork. I cheated slightly, as I put this peice on the drill dress and cut out the center with a drill bit first. It's too hard to hold the cork,drill and take pics, so just imagine what happened. I'm reaming out the cork to a perfect fit for the cork. I cut the cork just slightly oversize to get epoxy on the blank and cork for a good seal. Not too much,whch calls for fitting several times as you will see.
Here is a dry fit to make sure it'd going to work. Nothing like glueing everything in place and not having the fit correctly done.
Here we slop some rod bond inside the cork to glue it on the back butt.
Here is the cork and seat glued together on the blank. We will let this sit for a day to get a solid bond onto the blank.
Come back later to check out the fitting of the guides.